The largest electrical appliances in electricity. Computers have changed the world around us. It’s not only easy to do the job, but emulator desk also a great place for new innovations. There are many ways around us. Raspberry Pie is one of the most popular and affordable computers you can buy.
Only $ 35, you can have a computer program. You can use to create your laser or other DIY project. One of the best ways to use Retropie is to create a PlayStation game.
Retropie Emulator – Lighting and Improvement
You can also install Kodi for it to enjoy online files. Retropie is a great way to send kids through various racing games.
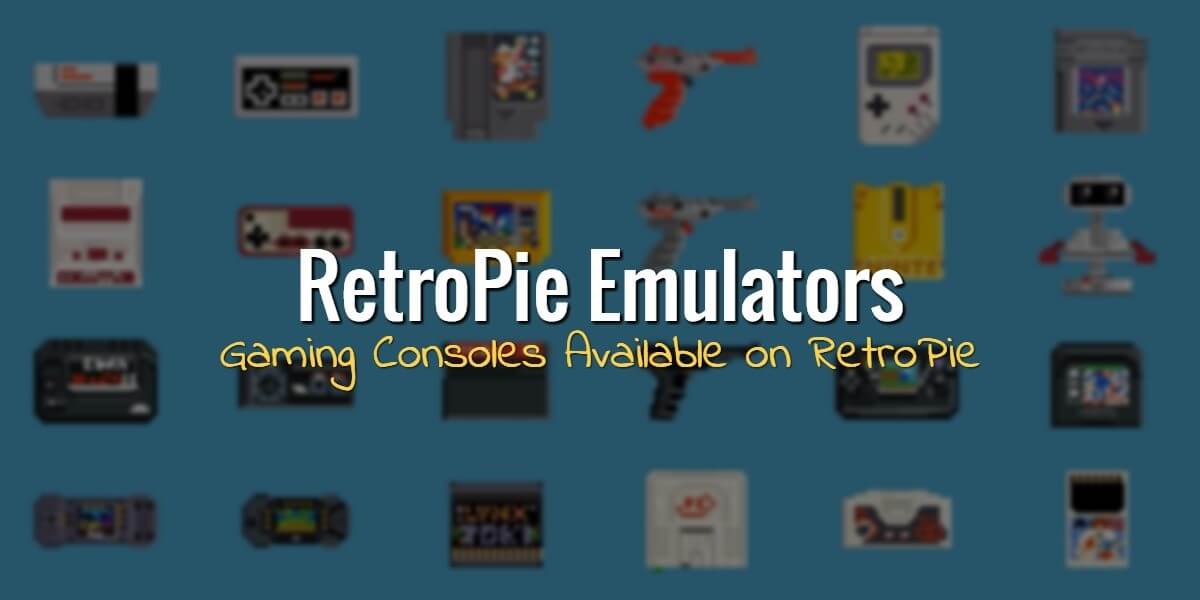
What is RetroPie Emulator Desk?
Retropie is an emulator desk sitting on Abandoned Raspbian and sharing with users running a variety of games of consoles. It is a great place to enjoy a variety of tools to make good money. The low light, the user can enjoy a variety of games at different levels of consoles. It also includes Linux and News Pi.
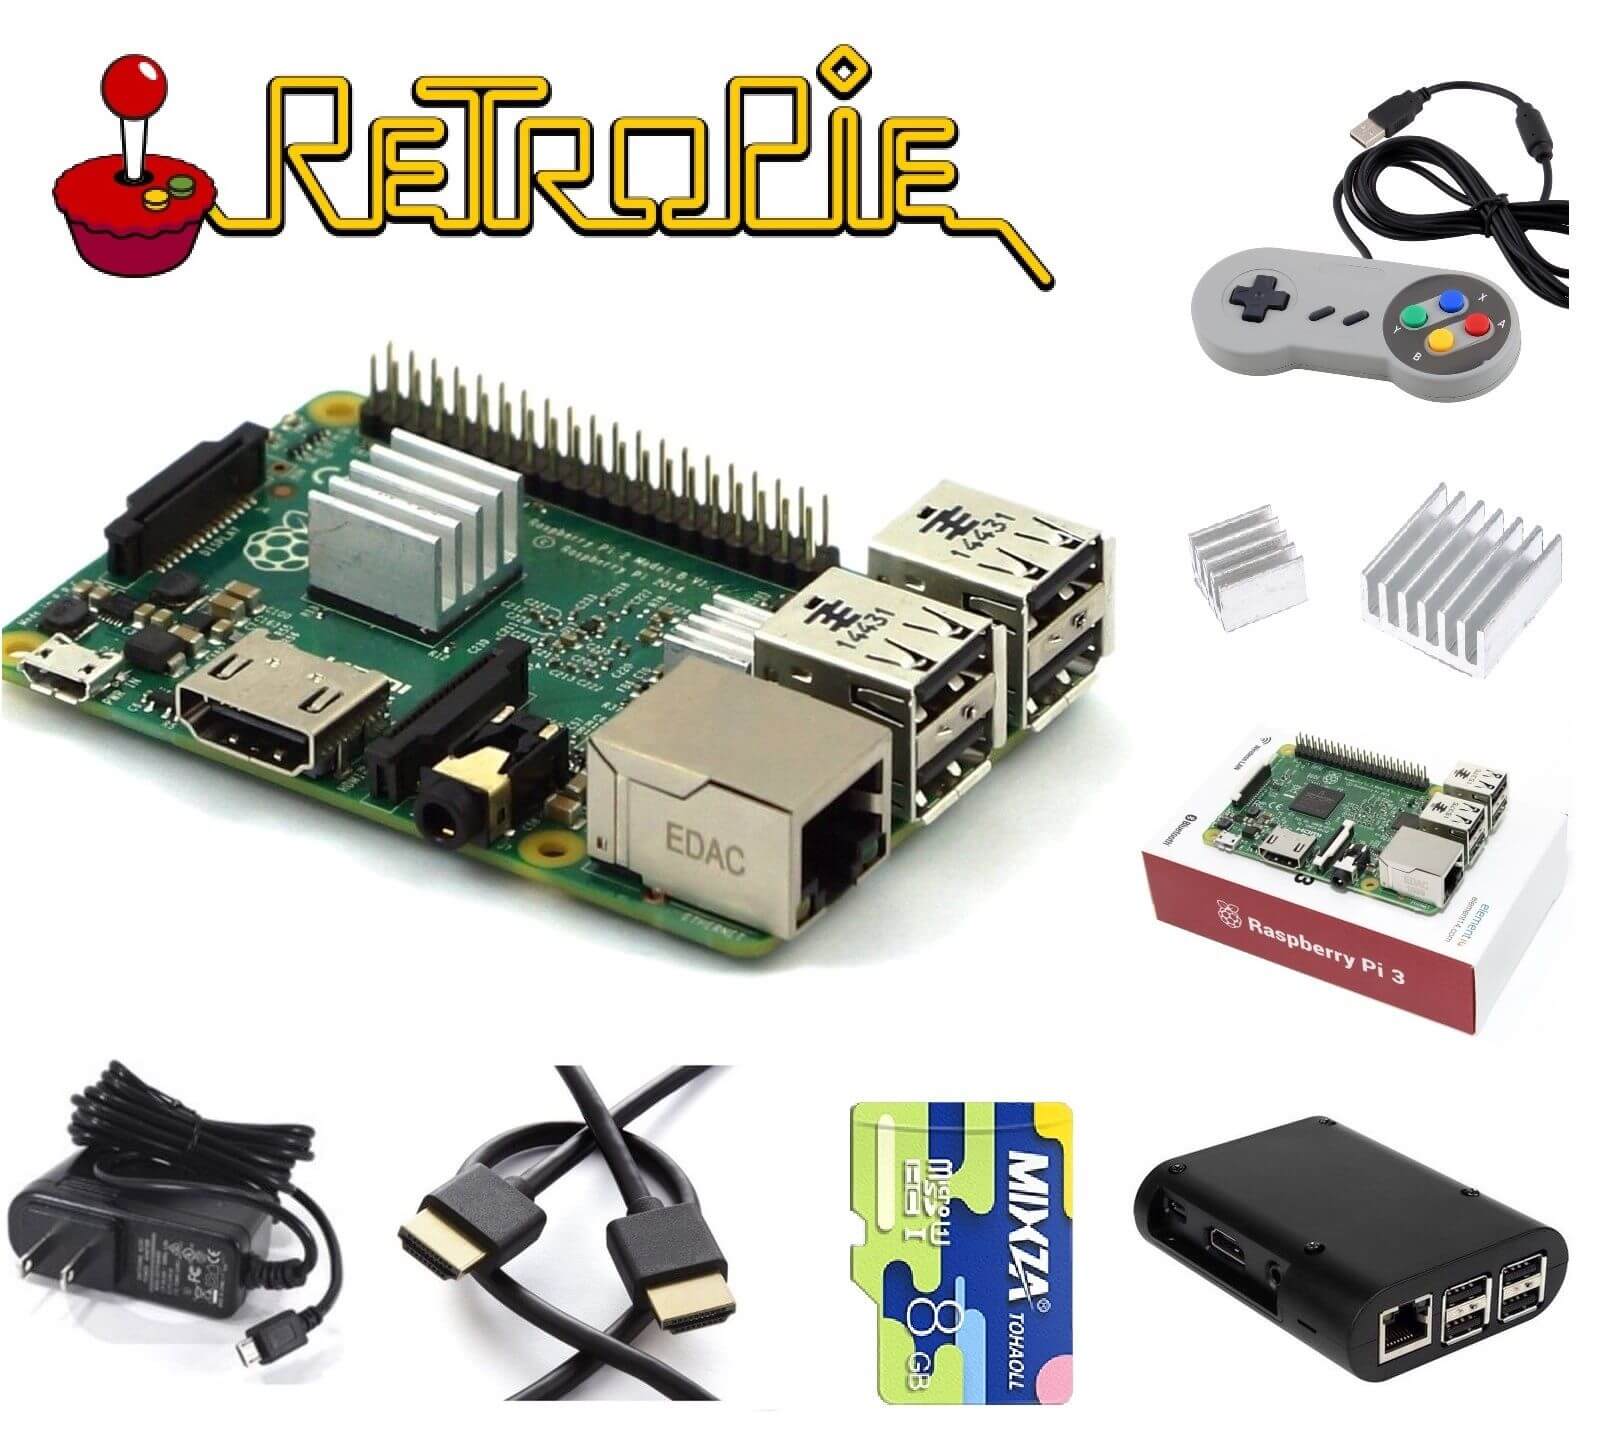
RetroPie setup
If you have PS girl then RetroPie is a great way to make fun. Follow the steps below to find out about the accomplishments and ideas for RetroPie.
- Raspberry Pi 2 or 3
- WiFi Adapter (For RPI 2)
- Micro SD card
- HDMI cable
- USB power supply
- USB Game Controller
- USB Keyboard and Mouse
Improvement
Download RetroPie image files from the link below.
Extract downloaded text into a book, RetroPie SD image will appear in the folder.
Now you want to install RetroPie SD photos from micro SD card. For this purpose you can use the softwares below.
Now insert the microSD card in RPI and boot it. Make sure that it has internet connections and connects with the equipment and control tools.
Retropie Configuration
In the boot, you will see the question by selecting.
Hold one key mark on your gamepad or keyboard for details. Press the button on your controller on the screen.
You can use keyboards for many buttons.
If you are an electrician you can adjust it according to your rights by entering the RetroPie configuration menu.
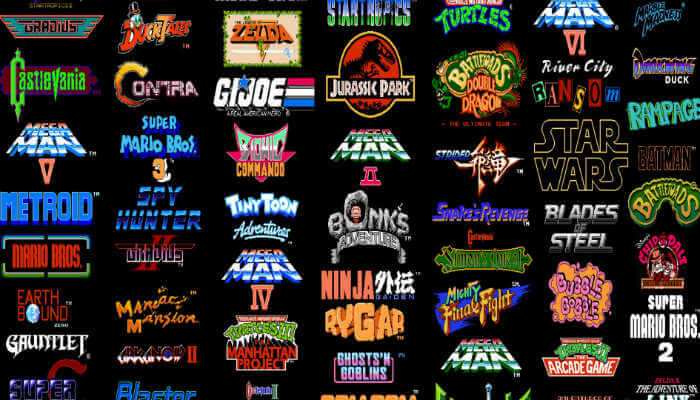
Change from ROMs
Now that the Retropie setup is complete you can convert ROM to it for a variety of reasons. We use USB drive to delete the ROM from our Retropie. It’s simple and fast working.
You can copy ROM files from many online sites, Choose the comfort you want ROM and download it.
- Insert the USB drive into your computer and place it on.
- Create a new book and rename Retropie.
- Now plug in USB into Pi.
- Wait until five minutes until it stops flashing.
- Now pull out and plug it on your computer.
- You will find many type emulators.
- Copy the ROM file to their empty emulator.
- Put it back to the child and start.
Now it will show you the name of all the emulators there and the game. Choose the emulator and game you want to play.
The only way to remember this is that you want to tweak some space to get the best graphical output. It sounds hard and you will be able to get the game and run quickly.
End
Papa Pi allows users to create more information. Retropie makes it easy to go to the play area. By following the steps above you can prepare the Retropie Easy Emulator. If you can go to these steps, please ask us some questions.