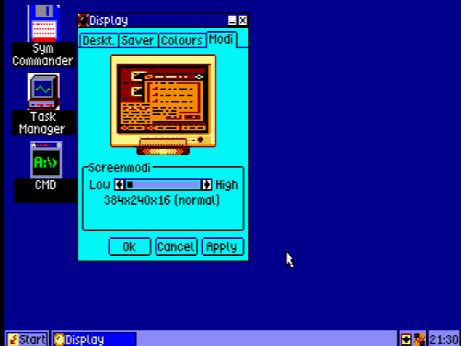
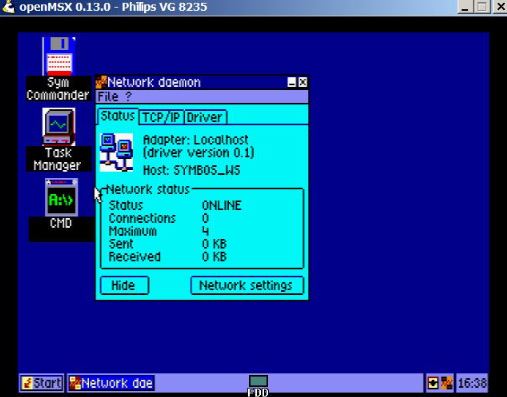
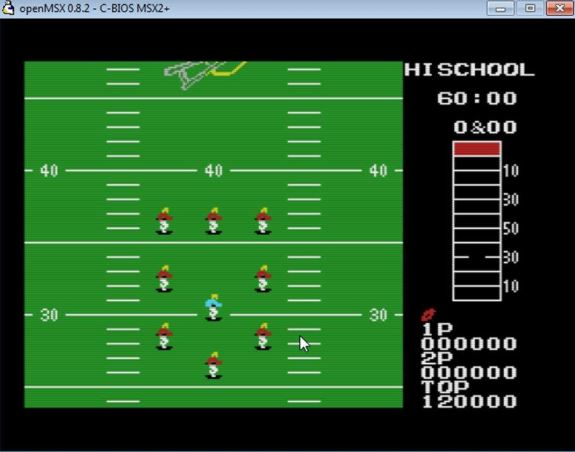
OpenMSX is a emulator designed for emulating MSX. If you want to emulating MSX, You should experience this emulator. So you can download it from ‘openMSX website’

Firstly we will talk about Git Clone. Getting a Git clone means you use Git to retrieve the latest version of the source code of openMSX. This means you will need to install a Git client. This package is usually named git. There are graphical front-ends for Git, but this guide will tell you how to use Git from the command line. More information about Git can be found on the Git Documentation site. Windows users might want to look at msysGit for a command line tool, TortoiseGit for Windows Explorer integration, or Git Extensions, which also includes Visual Studio integration. With the following line (which is also displayed when you browse an openMSX git repository) you can retrieve the latest sources (also works on Windows when using msysGit): git clone
https://github.com/openMSX/openMSX.git openMSX. In this line you specified where you want to retrieve the files from (host name of the Git server), what project you want to retrieve (openMSX in this case), what module you want to get (openMSX.git in this case, which is the module that contains the sources of the main openMSX program) and what directory it should be cloned to (we chose openMSX in this example). When compiling openMSX on Windows with GCC, it’s often convenient to use C:\MinGW\msys\1.0\home\<username>\openMSX as the target directory, as this is easy to reach from your MinGW Shell – it’s your MinGW home directory. If you’re a developer, it makes sense to use this git commandline: git clone git@github.com:openMSX/openMSX.git openMSX.
For this to work smoothly, without having to type your password all the time, it’s probably a good idea to read the GitHub docs about SSH keys. The Git command creates a directory called openMSX for you in the current directory (or in the directory you specified in TortoiseGit). This directory is what we call in this manual the top of the source tree. In addition to the openMSX code, you will see a hidden Git administration directory called .git. Do not mess with it (nor move contents of this directory around), otherwise Git will get confused. If you want to update your source tree later, go to the top of the source tree and type: git pull or rightclick on the openMSX directory in Windows Explorer and select “TortoiseGit -> Pull.

Installation is second point we will talk about. Linux and BSD. To install openMSX, run the following command: make install. This installs openMSX, by default in /opt/openMSX. Note that only root has rights to write to system-wide directories such as /opt, so you may have to do su before make install, or use sudo. On Mac OS X, the build creates an application folder. You can “install” this by copying it to a different location. The application folder will depend on systemwide installed libraries, so it will not work on Macs without those libraries. You can run openMSX from the application folder with the following command: open derived/<cpu>-darwin-<flavour>/bindist/openMSX.app If you want to see the messages openMSX prints to stdout and stderr, start openMSX like this: derived/<cpu>-darwin flavour>/bindist/openMSX.app/Contents/MacOS/openmsx.
Last point we will talk about is compilation. If you want to change something about this process, for example switch to a newer library release, edit the build/3rdparty.mk Makefile. Just like for normal compilation, you can set environment variables such as OPENMSX_FLAVOUR, CXX, OPENMSX_TARGET_CPU and OPENMSX_TARGET_OS. To build a stand-alone binary, run the following command at the top of the source tree: make staticbindist. The final output files will be produced in derived/<cpu>-<os>-<flavour>-3rd/bindist.

Mac OS X The final output is a DMG file (Mac disk image) containing the openMSX application folder and documentation. This file is internet-enabled, which means it will be automatically mounted after it is downloaded. Microsoft Windows (MinGW). Here’s the very short version if you want quick results on Microsoft Windows with GCC:Open a MinGW Shell. Go to the top of the source tree (e.g.: cd openMSX if you chose the MinGW home directory as target directory). Type: make staticbindist. A complete package will be created in derived\x86-mingw32-i686-3rd\bindist\install. If you additionally want to build an (by current developers unused) openMSX installer, you should refer to the package-windows module in our Git repository.
It contains a README file with a short manual. OpenDingux. After having the toolchain installed, you can simply compile openMSX with this command: make staticbindist OPENMSX_TARGET_CPU=mipsel OPENMSX_TARGET_OS=dingux OPENMSX_FLAVOUR=opt. When this is done, you have a ready to use OPK file for distribution in the folder derived/mipsel-dingux-opt-3rd/. Visual C++. When building with Visual C++, the result is a static executable with minimal dynamic library dependencies. Two platforms are supported: Win32 – a 32-bit binary that runs on both 32 and 64-bit versions of Windows x64 – a native 64-bit binary that runs only on 64-bit versions of Windows.
Three different configurations are supported: Debug: assertions enabled, debug prints enabled, no optimization, very slow. Developer: assertions enabled, debug prints disabled, no optimization. Release: assertions disabled, debug prints disabled, full optimization. When building with Visual C++, you can either use the IDE or build from the command line using msbuild. To do the latter, you need to open a Visual Studio command prompt. A shortcut to a Visual Studio command prompt can usually be found in your start menu.
For Visual Studio Community 2017, it will be in “Microsoft Visual Studio 2017\Visual Studio Tools” as the “Visual Studio Command Prompt”. In order to build openMSX, the libraries it depends on need to be downloaded and unpacked: Open a command prompt and go to the top of the openMSX source tree. Type python build\thirdparty_download.py windows. The following steps can then be used to build openMSX: Open a Visual Studio command prompt. Go to the top of the openMSX source tree. To build 3rd party libraries, type msbuild- p:Configuration=Release;Platform=Win32 build\3rdparty\3rdparty.sln. To build openMSX, type msbuild -p:Configuration=Release;Platform=Win32 build\msvc\openmsx.sln. The openMSX executable will be generated in derived\Win32-VC-Release\install. To build for other platforms or configurations, simply replace “Release” and “Win32” in the command lines above with the desired options. To build using the Visual C++ IDE, simply open the aforementioned solution files and from the Build menu select “Build Solution”. This is exactly equivalent to building from the command line using msbuild.


